> For the complete documentation index, see [llms.txt](https://docs.chainupcloud.com/llms.txt). Markdown versions of documentation pages are available by appending `.md` to page URLs; this page is available as [Markdown](https://docs.chainupcloud.com/introduction/for-developers/deploy-dedicated-node.md).
# Deploy Dedicated Node
Quick start guide for Web3 developers
### 1. Creating an Account
**Step 1:** Users are able to sign up on [**ChainUp Cloud**](https://cloud.chainup.com/app/register).

**Step 2:** Login to [**ChainUp Cloud**](https://cloud.chainup.com/app/login) with your newly created account.

### 2. User Dashboard
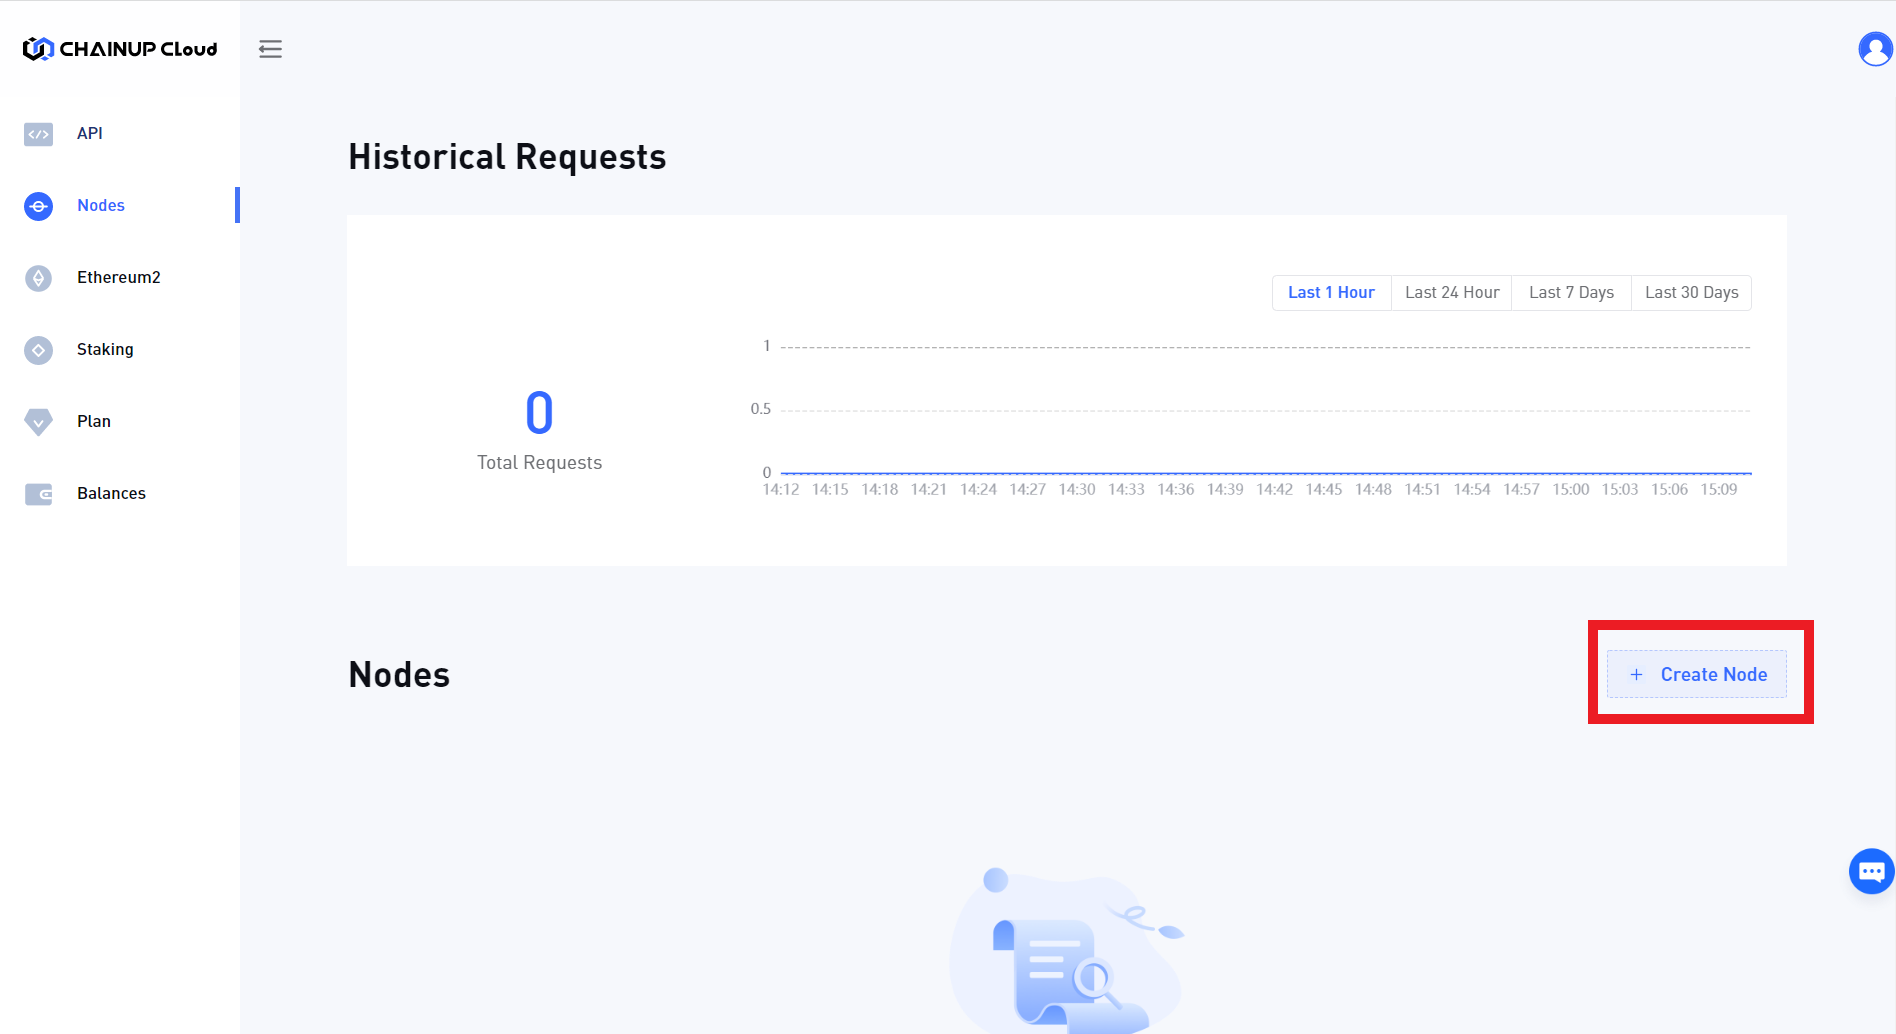
**Step 1:** Once you have logged in to [**ChainUp Cloud**](https://cloud.chainup.com/app/nodes), you will need to create a new node and select the blockchain.
Create Node
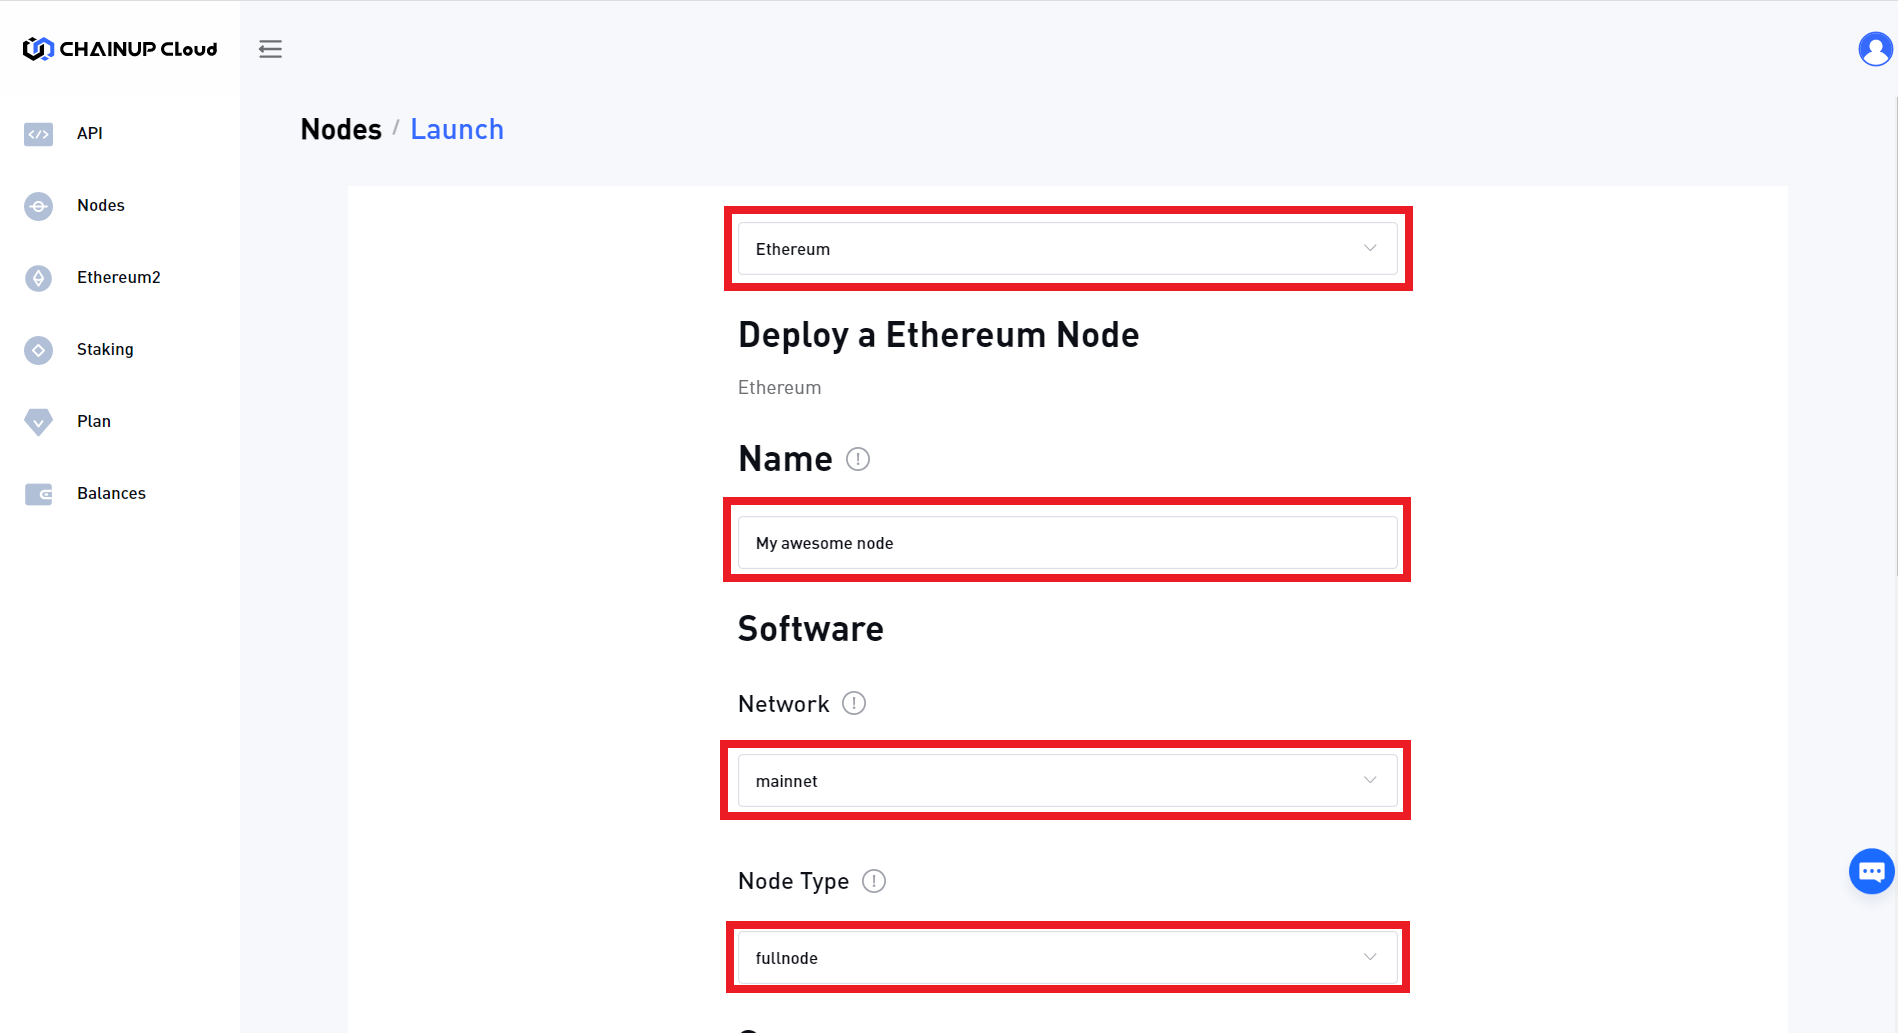
**Step 2:** Now, type in the name of your node, and select the Blockchain, Network and Node Type.
Select node options
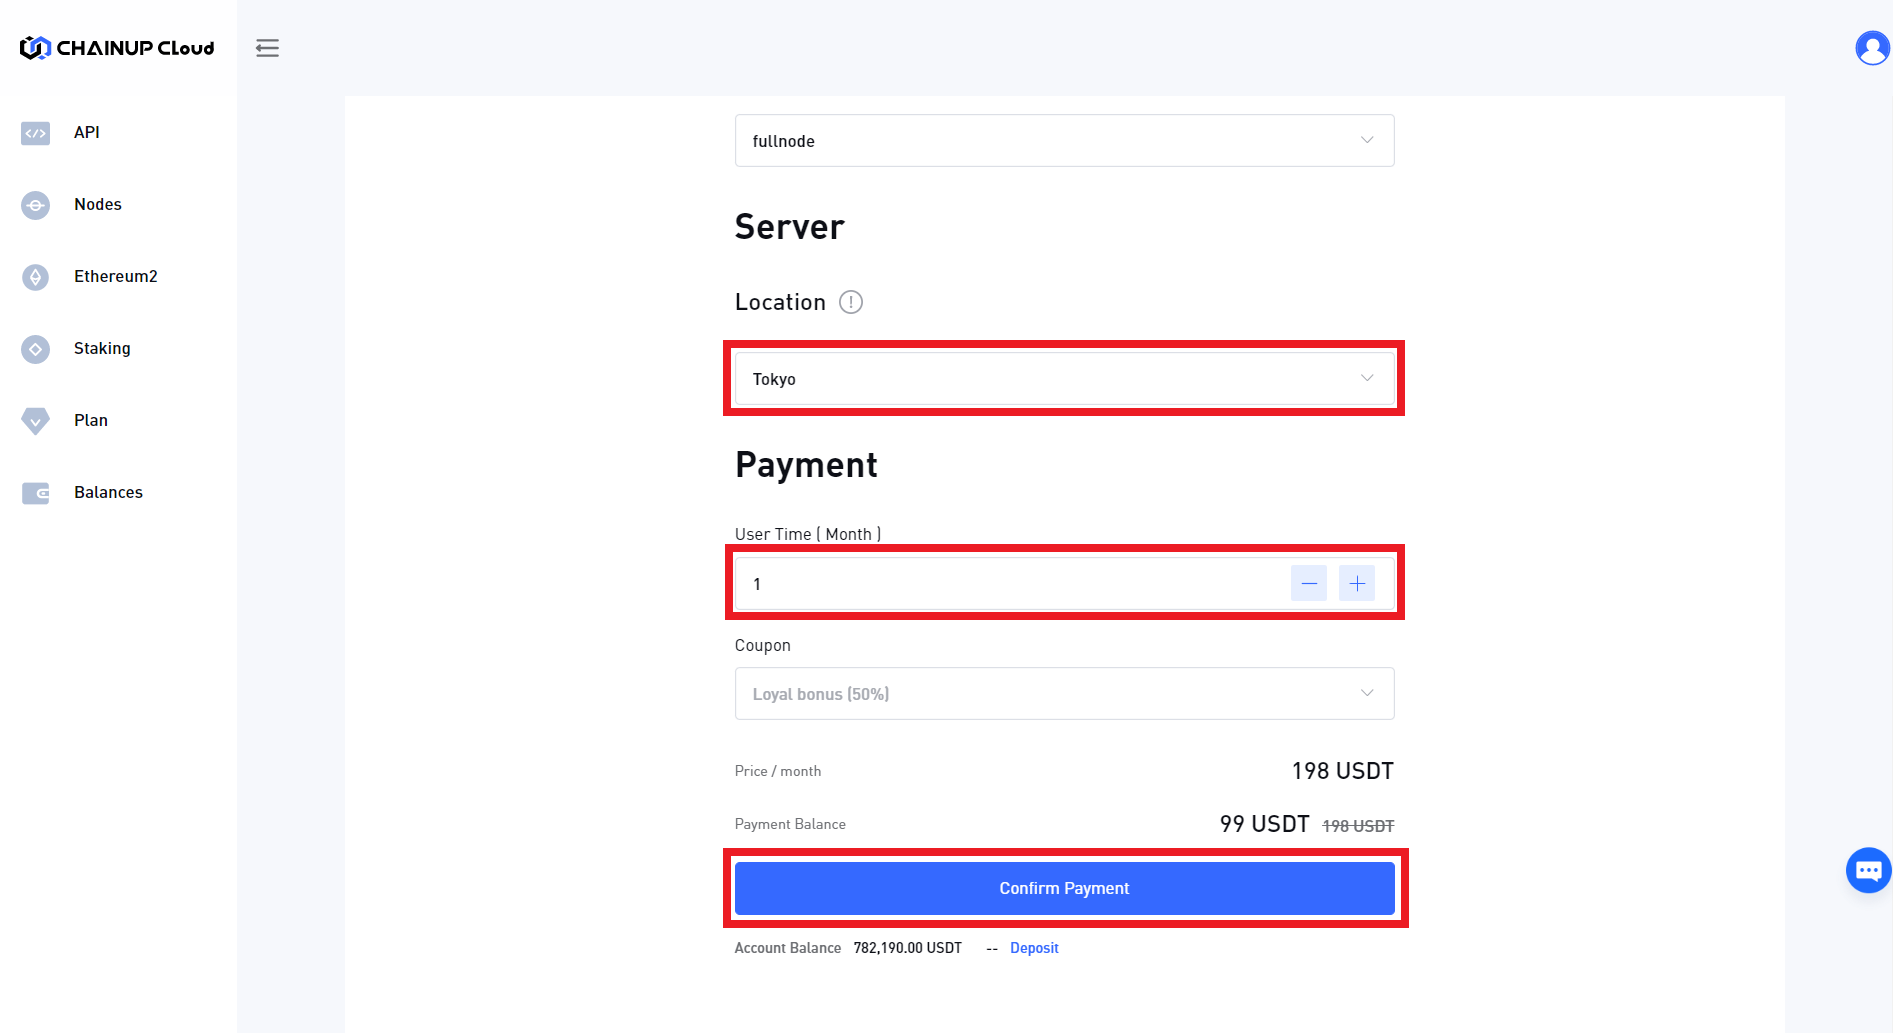
**Step 3:** Next, select the Node's Location (ideally based on your user's geographic locations), the duration of operation (you can always top up later to extend the duration) and proceed to make a payment
Making payment
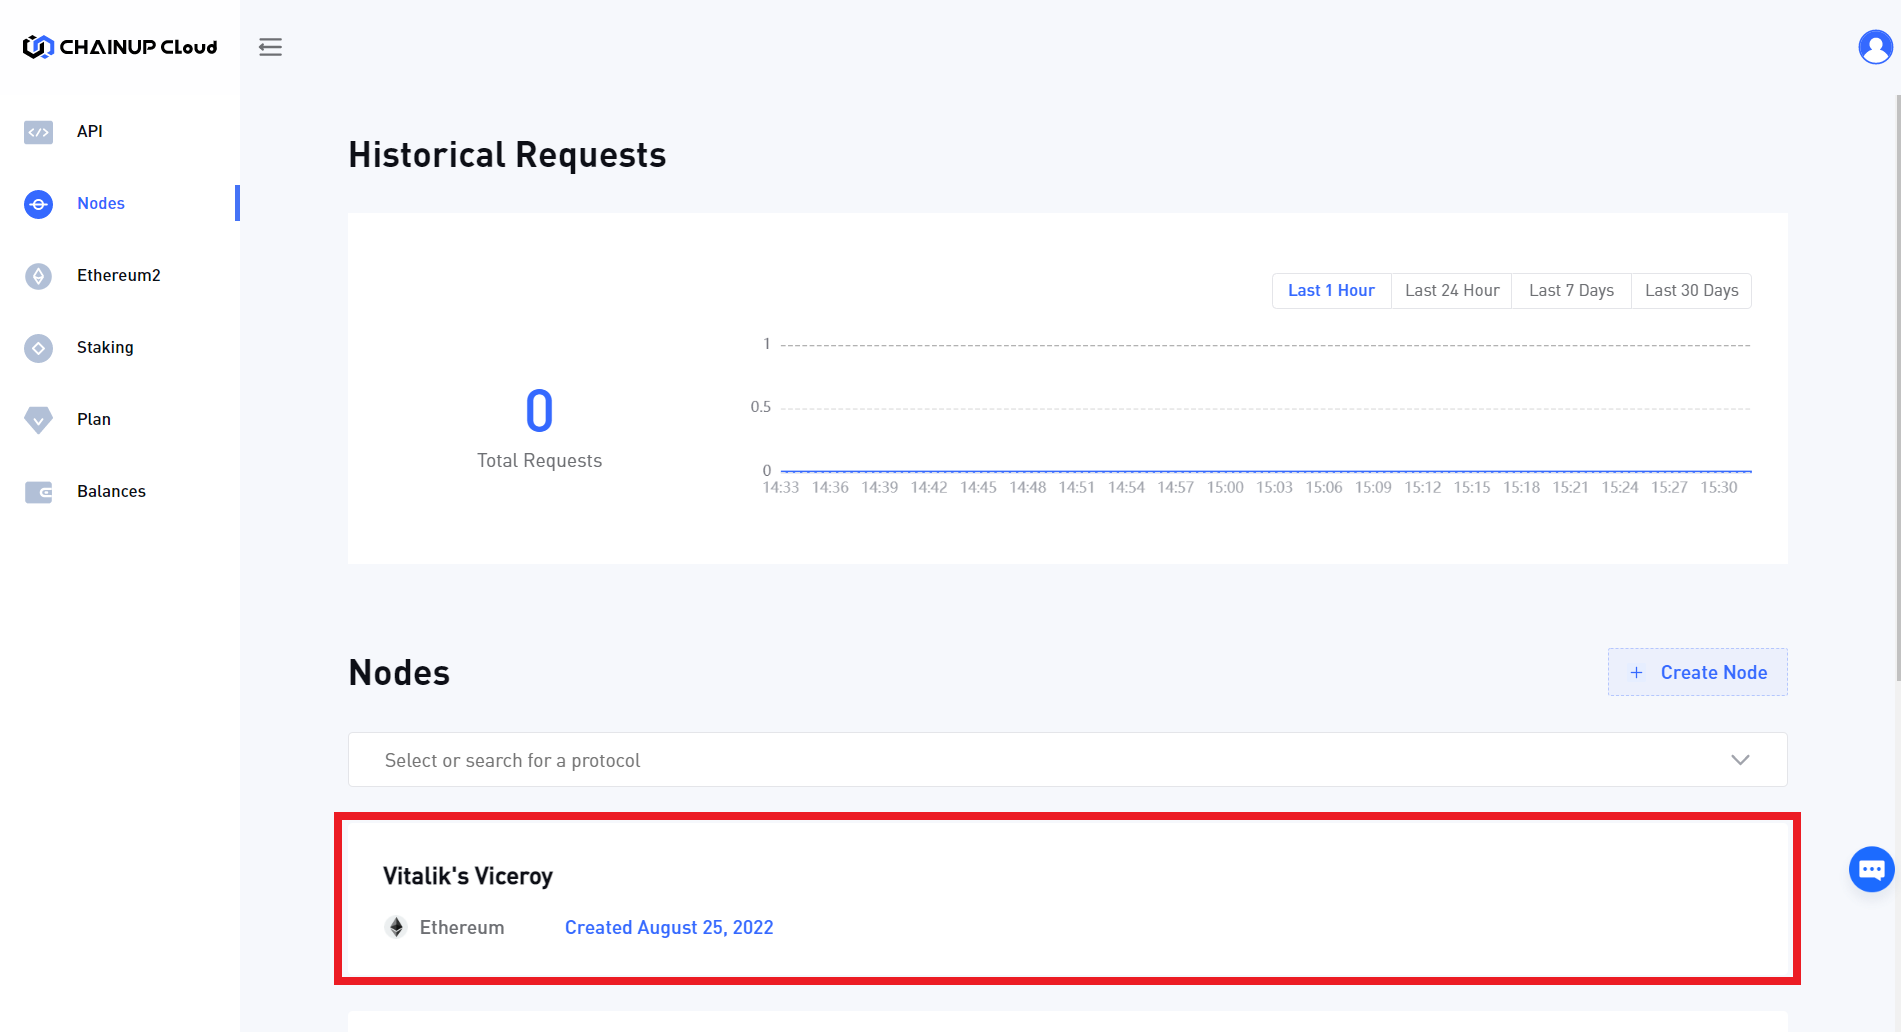
**Step 4:** Lastly, wait for your node to be ready and you can use it in a similar fashion as the [**Blockchain API**](/introduction/for-developers/use-blockchain-api.md)!
Node is ready!
[**Sign up now**](https://cloud.chainup.com/app/register) to start building in seconds and discover the wonders of ChainUp Cloud!